What is a Visual Timetable?
A visual timetable is an interactive resource made of illustrations or photographs that help children understand the order of the day and predict what will happen next. It helps them to develop an understanding of the time of day and how long they need to wait for a particular event / thing to happen. It also helps to orientate them by showing what has already happened and what will come next. This is particularly useful if there is something they are really looking forward to as it shows them all the things that need to happen before they can engage in that activity.
All of these things are something that as adults we can take for granted but which is often a great mystery to younger children who very often struggle to comprehend the passage of time. For instance, it can be difficult for a child to relate to instructions that they must wait ten minutes or half an hour.
What are the key benefits of visual timetables?
- Visual timetables help to increase understanding of the sequence of events. This increases confidence and predictability and reduces uncertainty which can lead to anxiety.
- They establish clear boundaries for transitioning between activities.
- They provide a visual way to differentiate between the past, present, and future, helping children know their place in time.
- They provide opportunities to reflect on activities that have already taken place and recap the events of the day.
- They are a great resource to use with all children but can be particular beneficial to children with autism as well as those with speech, language and communication needs (as well as some other special educational needs). This is because they are great for helping children who:
– Find it challenging to comprehend and process verbal information.
– Struggle to listen and retain information.
– Have a limited understanding of time and its passage.
– Experience increased anxiety when transitioning between activities.
How to use a visual timetable effectively
Visual timetables can be used with groups of children or customised for use with an individual child. It is important to adjust the content according to the child / children’s age, interests and development.
The visual timetable could be used at home or in a classroom setting and can cover activities for the whole day, a morning or afternoon. It should be placed in a prominent place within your setting that is easily visible and referred to throughout the day.
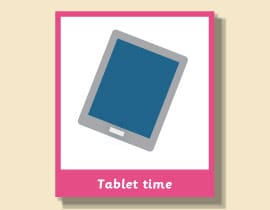
The format of the timetable can run from left to right or top to bottom but it is essential that the images are removable to indicate when an activity is completed. It is also important that the timetable clearly indicates which activity is currently being done as well as the activities which are yet be done (in the correct order). You could move an arrow or star along the timetable for this purpose. Activities that have been completed could be removed from the timetable and placed in a separate row or some sort of special box / container. Alternatively, they could be left on the same row – as long as it’s clear at a glance that those activities have been completed.
It’s really important to remember that visual timetables must be interactive and involve the child / group. Here are three simple steps that you can follow to ensure you get the best out of your visual timetable:
1) Introduce the visual timetable
Begin by introducing the visual timetable to the child or children at the beginning of the relevant activity or time period. For instance, at the start of the day, show the child or group the activities planned for the morning. If the day includes an opportunity to choose an activity you could have a ‘choosing time’ picture to represent this.
2) Carry out the first activity & then mark as completed
Proceed with the first activity on the visual timetable, referring to the corresponding picture with the child / group. After completing the activity, refer back to the visual timetable and visually indicate to the child / group that the activity is completed. One of the children can remove the picture from the visual timetable and place it on a separate line or in a box / container. Keeping the picture allows for later reflection on completed activities. As mentioned above, instead of putting completed activities on a separate line / box you could simply move a star or arrow to the next activity.
3) Repeat the process
Repeat the first two steps until all activities on the timetable are completed. It is crucial to complete each activity in the order identified on the timetable and not to miss anything out. This helps to build trust and confidence.
Download a visual timetable
We have a whole section on our site dedicated to printable visual timetables in different formats.
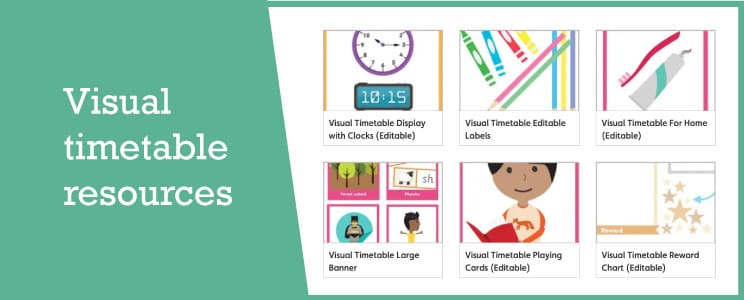
You’ll find a visual timetable for use at home and in the classroom well as many other resources such as a ‘now, next and then’ printable board.
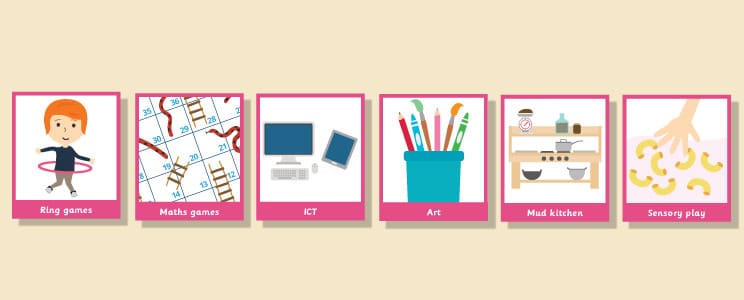
All of these resources come with a huge choice of illustrations to depict different activities. They also have editable text boxes so you can customise the wording if you use differnet terminology in your setting.
Popular Teaching Resources

Stay Up To Date
Sign up for our newsletter and we’ll let you know when we create new early years resources.